
How Can We Help?
How to create a preparer account
How to create a preparer account
The objective of this article is to walk you through on how to create a preparer account.
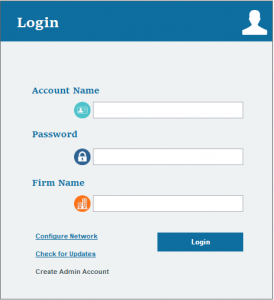
- Login to your KIS Online or KIS Desktopsoftware.
- Click on the SETUP tab at the top right corner.
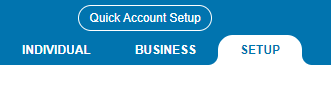
- You will automatically be take top the PREPARER INFORMATION screen. Click on the third icon at the top that says Add New Preparer.

- Enter the information to create the User Name for your preparer and their password. This is what they will use to log in to the software.

- Please enter the Preparer information and make sure you include their name, email and PTIN.

- Scroll to the bottom of the page and under USER OPTIONS select what you will allow the preparer to do and select the privileges.
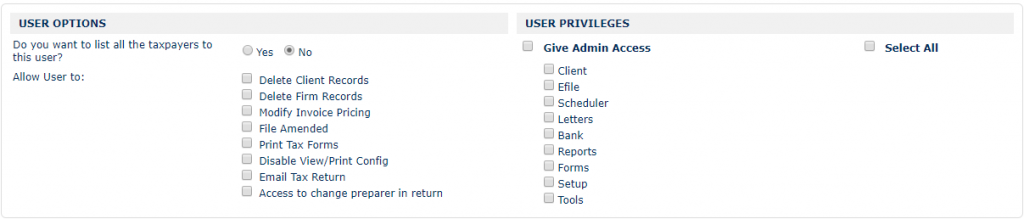
- Once done, click on the blue button that says CREATE NEW USER, to save the information.
![]()
RECOMMENDED
Once you click on CREATE NEW USER, you will be directed to the SECURITY QUESTION tab.
Now you will be directed to the LOGIN SECURITY tab.
- Select a question from the drop box for Security Question 1 and enter the answer below it. Do the same for Question 2 and 3.
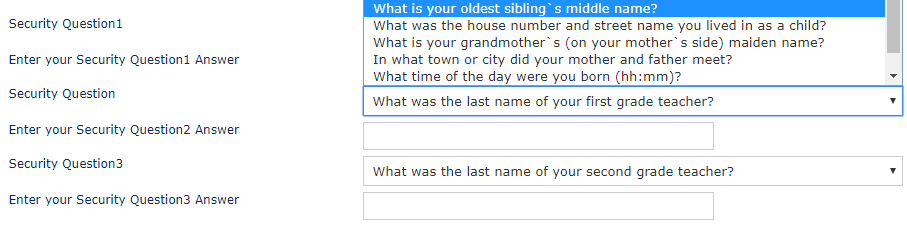
- Once you answer all three Security Questions, click on the blue button on the lower right of the screen that says SAVE CHANGES.
![]()
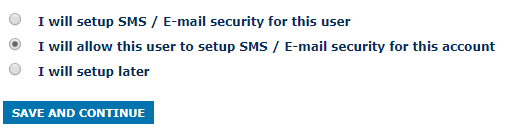
Now you will be directed to the SECURE PASS tab. This is to ensure extra protection to all your clients personal information.
- Under TWO STEP AUTHENTICATION click on the green button that says Activate Login Code Security.

- Check the box in front of the phrase “ I will allow this user to setup SMS / E-mail security for this account.” Click on the blue button at the lower right corner that says SAVE AND CONTINUE to save this change.
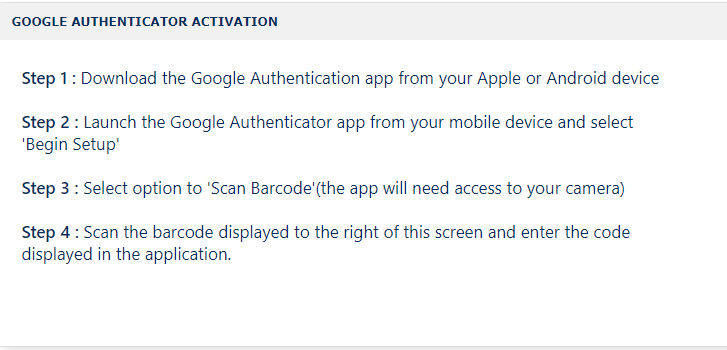
- Under GOOGLE AUTHENTICATION click on the green Setup button to set up.

- Follow the instructions and download the Google Authentication app to your Apple or Android phone and proceed with the next steps.
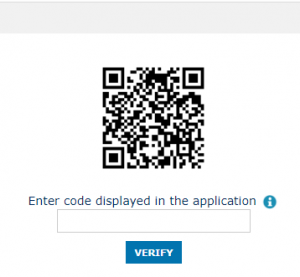
- Once you receive your code to your mobile phone, enter the code under the Barcode and click on the blue button that says VERIFY.
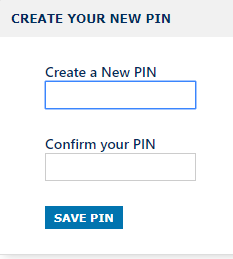
- Under SECURITY PIN click on the green button that says ADD PIN.

- Enter a 4 digit numerical pin on the Create a NEW PIN box and then confirm it on the Confirm Your PIN box.
- Click on the blue box below that says SAVE PIN.
Now you have successfully created a preparer account.