
How Can We Help?
How to manually add ERO information in the EF Originators database in Simple Tax 1040
SUMMARY
This article demonstrates how to manually configure information stored in the EF Originators database in Simple Tax 1040.
MORE INFORMATION
Here’s an interactive tutorial
The EF Originators database stores Electronic Return Originator (ERO) information. The program will use this information to populate Part III of Form 8879: Declaration of Return Originator and ERO information on any state electronic declaration form.
To ADD new information to the EF Originators Database, follow these steps:
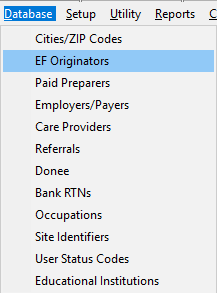
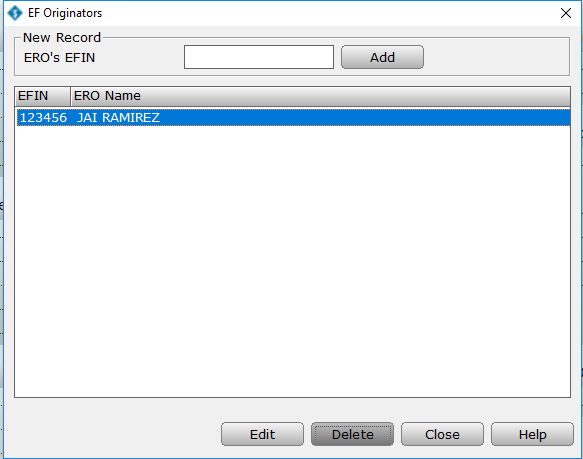
- Click the Database menu and then click EF Originators. The EF Originators window will open.
- Type the new EFIN in the ERO’s EFIN field and then click the Add button.
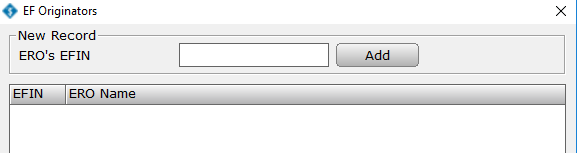
- The Electronic Return Originator window will open.
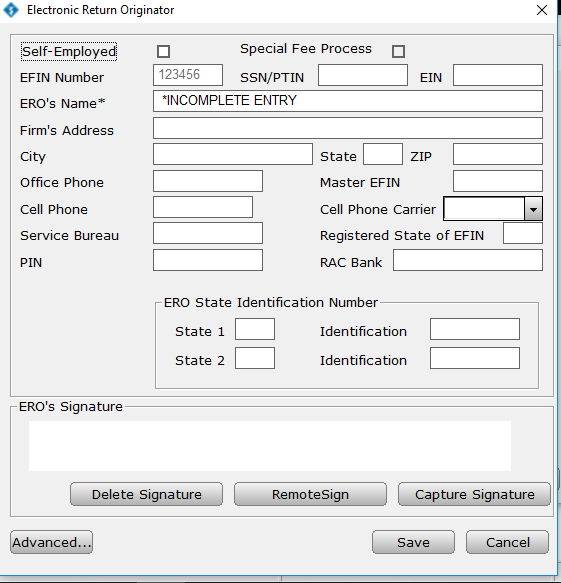
- If the ERO is self-employed, select the Self-Employed checkbox.
- Type the Personal Tax Identification Number (PTIN) in the SSN/PTIN field. The information entered here will print on the bottom of Form 8879.
- In the EIN field, type the Employer Identification Number.
- Type the ERO’s name, address, and office phone number associated with the EFIN in the appropriate fields.
- Type the ERO’s Cell Phone Number and select the Cell Phone Carrier from the drop down box.
- In the PIN field, type a Personal Identification Number. The PIN is a five-digit number created by the ERO. The PIN entered here will populate the ERO/Paid Preparer PIN field on Form 8879.
- Click the Capture Signature button to capture the ERO’s signature with your signature pad or mouse.
- Click Remote Sign to sign remotely via cell phone or email to set up Remote Signature Feature.
- Once you have completed entering information, click Save to add the information to the database.
- To EDIT information in the Employers/Payers Database, follow these steps:
- Click the Database menu and then click EF Originators.
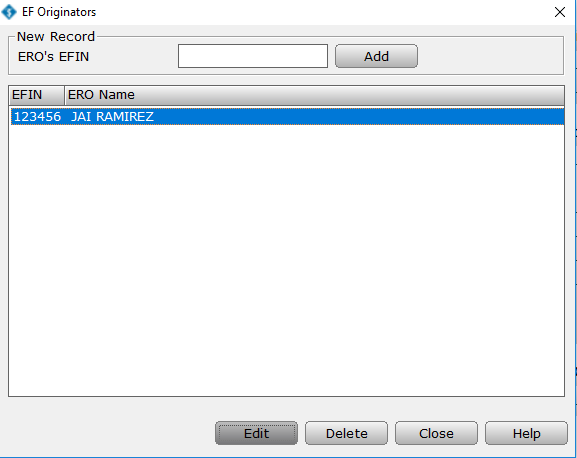
- The EF Originators window will open. Under ERO Name, click the ERO you want to edit and then click Edit.
- Once you have finished editing the ERO information, click Save.
- To DELETE information stored in the Employers/Payers Database, follow these steps:
- Click the Database menu and then click EF Originators.
- The EF Originators window will open. Under ERO Name, click the ERO you want to delete and then click Delete.
- Click Delete in the Database Delete window to confirm that you want to delete the ERO.