Como Configurar y Imprimir TEST CHECK en KIS Dsktop
El objetivo deeste arriculo es para mostrar paso a paso como configurar para impremir cheques.
- Ingresese al programa de KIS Desktop.
- Haga clic en la etiqueta de SETUP.

- Haga clic en el 5to icono de CHECK PRINT.

- Haga clic en la etiqueta de SETUP en la ventanilla de CHECK PRINT.

- Escriba un CONFIGURATION NAME y haga clix en la cajilla para usar ese nombre de configuracion por predeterminado.

- Abajo de la pantalla a la izquierda, haga clic en PRINT SAMPLE CHECK para imprimir una Prueba de Cheque para figurar la forma correcta de como poner los cheques en la impresora. Recomendamos NO usar un cheque de verdad para esto, haga una copia de un cheque y use la copia major.

- Si la porcion de abajo del cheque nesesita ajustarse, use la cajilla de ajustes de CASHIERS CHECK.
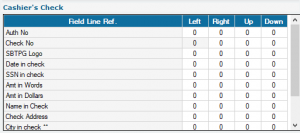
- Imprima una prueba de cheque de nuevo y si el cheque imprime correcto, haga clic en ADD NEW CONFIGURATION par guardar los cambios hechos.

Como Configurar e Imprimir un TEST CHECK en KIS Desktop
El objetivo de este articulo es mostrar paso a paso como comfigurar e imprimir un Test Check.
- Ingresese al programa de KIS Desktop.

- Haga clic en SETUP.

- Haga clic en el quinto icono, CHECK PRINT.

- Haga clic en la etiqueta de SETUP en la ventanilla de CHECK PRINT.

- Ingrese el CONFIGURATION NAME y haga clic en la cajilla para usar la configuracion como defecto.

- Haga clic en el boton de PRINT SAMPLE CHECK para imprimir un prueba de cheque para figurar la manera correcta en que tiene que poner el checque en su impresora. NO RECOMENDAMOS que use cheques originales, si no haga una copia de un cheque y use la copia major.

- Si la porcion de abajo del cheque necesita ser ajustado para corregir problemas de alineacion, use la cajilla de ajustamiento CASHIERS CHECK para ajustar las configuraciones.

- Imprima una prueba de cheque por segunda vez y si el cheque imprime correctamente, haga clic ADD NEW CONFIGURATION para guardar los cambios que se hicieron.
![]()
How to print a check in KIS Online
The objective of this article is to walk you through the process of printing a customer’s check.
- Login to the KIS CHECK PRINT SOFTWARE software.
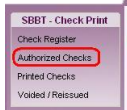
- Click on the link labeled AUTHORIZED CHECKS on the top left corner of the software.
- Under SEARCH OPTION you can select from the several options to view checks that have been authorized and are ready to print.

- Select the check you would like to print by checking the box next to the name of the client’s check.
![]()
- Now click on the button on the lower right corner labeled PRINT SELECTED CHECKS.
We recommend you print checks individually and not all at once.
How to print a check on KIS Desktop
The objective of this article is to walk you through the process of printing a customer’s check.
- Click on the KIS Desktop icon and login to the software.

- Click on the SETUP Tab on the top right corner.

- Click on the 5th icon on the left-hand side labeled CHECK PRINT.

- Click on the link labeled AUTHORIZED CHECKS on the top left corner of the software.

- Under SEARCH OPTION you can select from the several options to view checks that have been authorized and are ready to print.

- Select the check you would like to print by checking the box next to the name of the client’s check.
![]()
- Now click on the button on the lower right corner labeled PRINT SELECTED CHECKS.
We recommend you print checks individually and not all at once.
How to reprint a check on KIS Online
The objective of this article is to walk you through the process of re-printing a customer’s check.
NOTE: You MUST have the check in hand that needs to be reprinted.
- Login to the KIS CHECK PRINT SOFTWARE software.

- Click on the link labeled PRINTED CHECKS on the top left corner of the software.
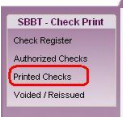
- Under SEARCH OPTION you can select from the several options to view checks that have been printed and are ready to re-print.

- Select the check you would like to re-print by clicking on the name of the client’s check.

- Click on the button at the lower right corner labeled VIEW MORE DETAILS.
![]()
- From the PRINTED CHECK DETAILS window click on the button at the bottom labeled VOID THIS PRINT.

- Enter a brief reason why you have voided the check and are re-printing the check.

- Then select, YES I STILL HAVE THE WRONGLY PRINTED OR DAMAGED CHECK.

- click on the SAVE and CLOSE button.

- This will void the check number on your check register and the check will be available to print on the AUTHORIZED CHECK list.

- Follow the Check Printing instructions to print the check again..
We recommend you print checks individually and not all at once.
How to reprint a check on KIS Desktop
The objective of this article is to walk you through the process of re-printing a customer’s check.
NOTE: You MUST have the check in hand that needs to be reprinted.
- Click on the KIS Desktop icon and login to the software.

- Click on the SETUP Tab on the top right corner.

- Click on the 5th icon on the left-hand side labeled CHECK PRINT.

- Click on the link labeled PRINTED CHECKS on the top left corner of the software.

- Under SEARCH OPTION you can select from the several options to view checks that have been printed and are ready to re-print.

- Select the check you would like to re-print by clicking on the name of the client’s check.

- Click on the button at the lower right corner labeled VIEW MORE DETAILS.
![]()
- From the PRINTED CHECK DETAILS window click on the button at the bottom labeled VOID THIS PRINT.

- Enter a brief reason why you have voided the check and are re-printing the check.

- Then select, YES I STILL HAVE THE WRONGLY PRINTED OR DAMAGED CHECK

- Click on the SAVE and CLOSE button.

- This will void the check number on your check register and the check will be available to print on the AUTHORIZED CHECK list.

- Follow the Check Printing instructions to print the check again..
We recommend you print checks individually and not all at once.
How to re-print a Lost or Stolen Check
The objective of this article is to walk you through the process of re-printing a customer’s lost or stolen check.
- If you need to re-print a check that your customer either lost or had stolen, you MUST contact the bank you are enrolled with to have the check reissued once again.
- Santa Barbara/TPG 1-800-779-7228
- Refund Advantage 1-800-967-4934
- Refundo 1-908-445-5544
- TPSC 1-844-590-6553
- Republic 1-866-491-1040
Installing KIS Check printing software for KIS Online
- Login to your Keep It Simple Online account.
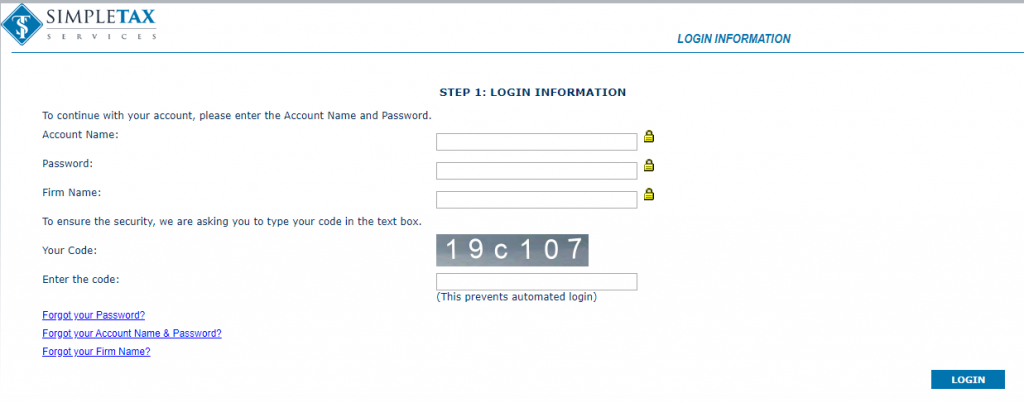
- Once in your account, go to the Setup Tab.

- At the bottom right corner click on Support.

- Click on the icon labeled Links.

- There will be a link to download Check Printing Software. Click on the link.
- NOTE: If the link is not available call 281-833-9300 option 2 for Support.
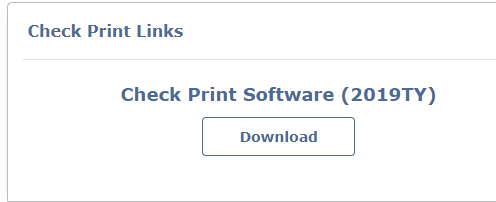
- Select where you want to save the Check Printing Software and click SAVE.
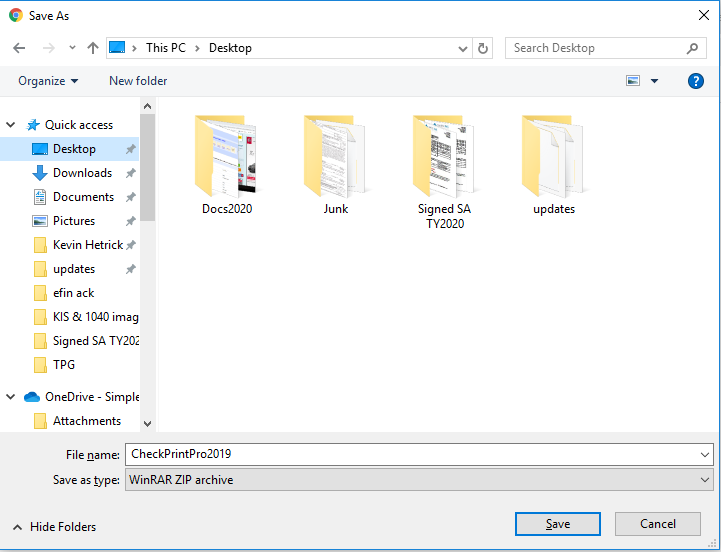
- Once the software downloads, click on the download to open.

- Click on the file named Check Print Pro to open.
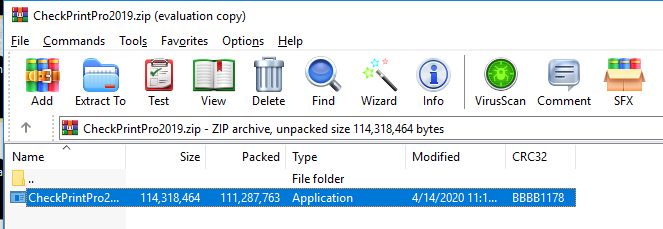
- In the Check Print Pro Welcome screen, click NEXT.
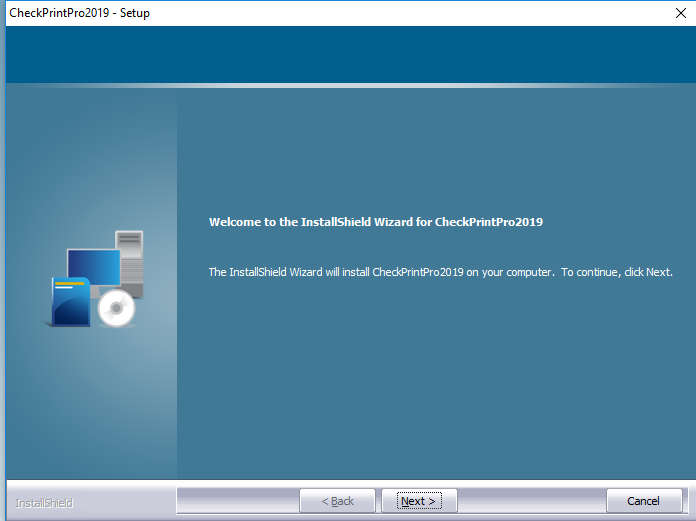
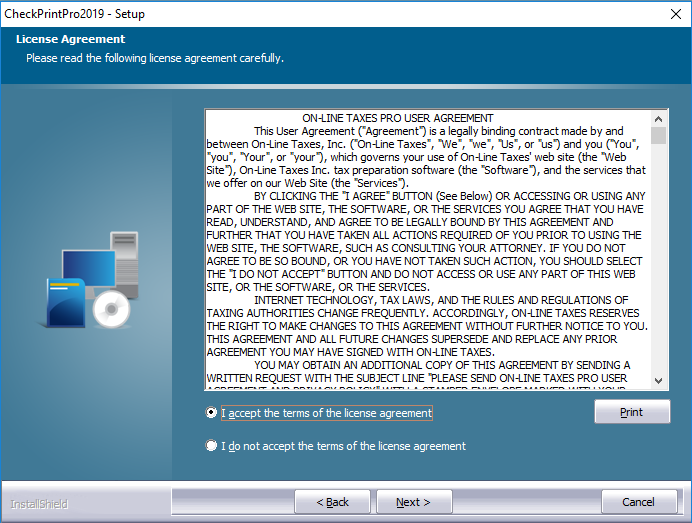
- Agree to the terms by checking the box Yes, I agree with the terms of this license agreement, and select NEXT.
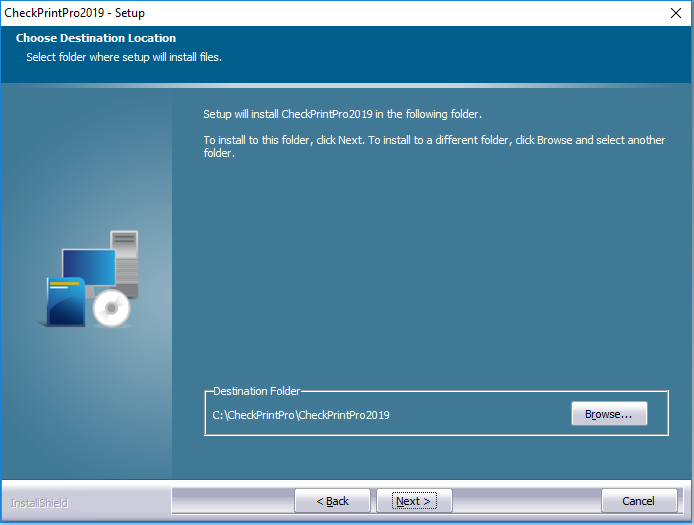
- On the Destination folder screen, select NEXT.
- On the Ready to Install the Program screen, select INSTALL.
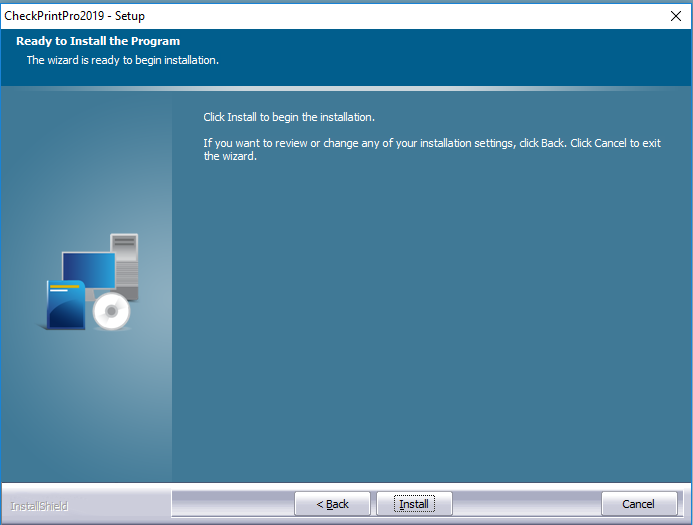
- On the Installation Complete screen, select FINISH.
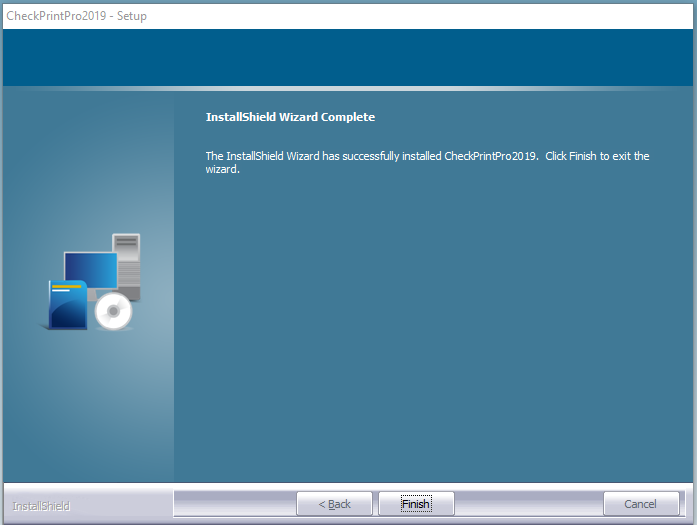
- Once the check printing software has successfully installed it will place an icon on your desktop. Close the installation screen and select this icon to open up the software.

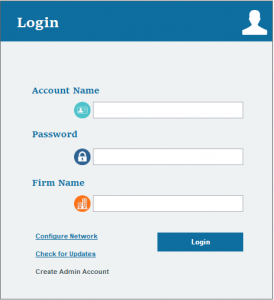
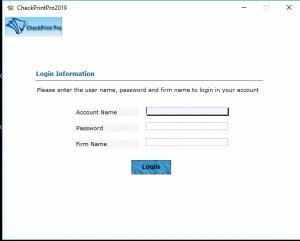
- The Account Name, Password and Firm Name are the same login information used to access your online software Enter your account information and select LOGIN.
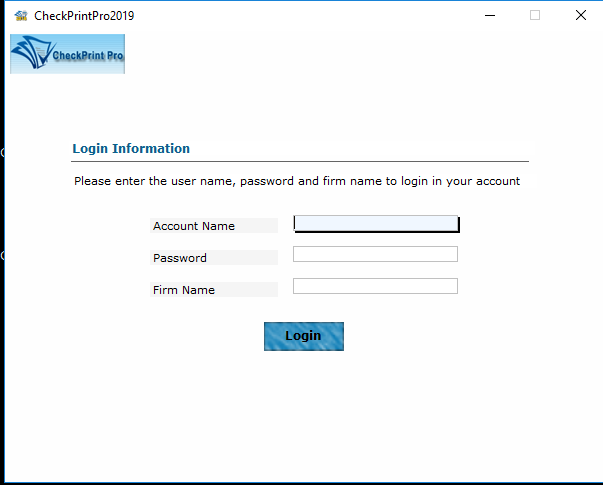
- A warning will generate starting you have not entered your check stock yet. Select OK
Test checks do not print
Test checks do not print
This can occur if the printer is not PCL 6 compatible.
To resolve this issue, follow these steps:
- Click Check, Registers and Activation on the WIP.

- Select the Use GDI Printing check box.

How to reprint a damaged or unusable check in SimpleTAX 1040
How to reprint a damaged or unusable check in Simple TAX 1040
If you have printed a check that is damaged, was printed on blank paper, or is unusable (for example, the check text printed on the wrong side of the check stock) you can correct the problem by processing a reprint. After processing a reprint, the check is immediately ready for you to reprint.
To reprint a check, follow these steps:
- On the Work In Progress screen, click Checks, Registers, and Activation.

- On the Check Register tab, click the check you want to reprint and then click Reprint.

- On the Checks to Print tab you will see the check available to print.

- Use the next Check Number in the series when you reprint the check s the check you printed before is no longer valid.
Special Note: The original print of the check will show in the Check Register and there is no way to remove that information.
