
How Can We Help?
How to setup pricing in KIS Desktop
The objective of this article is to walk you through on how to setup pricing.
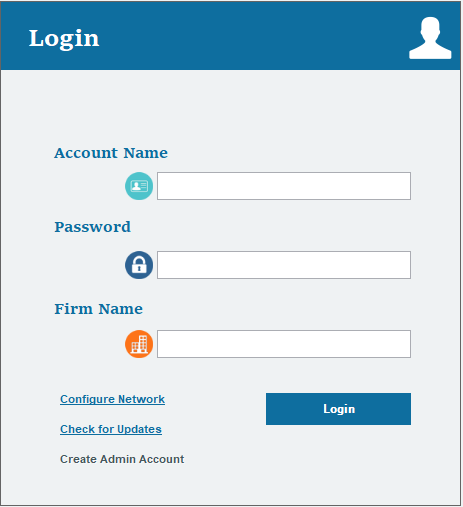
- Login to your KIS DESKTOP software.
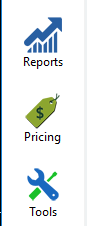
- Click on the seventh icon on the left side labeled PRICING.
- You will see several tabs labeled FEDERAL, STATE, DISCOUNT and ADDITIONAL CHARGES.
![]()
On the FEDERAL TAB you got 3 options to choose from SET PRICE MANUALLY AFTER EVERY RETURN, FIXED RATE FOR ALL RETURNS or SET PRICE AS PER FORM, ITEM AND PROPERTY.

- Click on SET PRICE MANUALLY AFTER EVERY RETURN if you want to charge a different amount to each client. That fee is set on the Client Invoice.
- Click on FIXED RATE FOR ALL RETURNS if you want to charge the exact same amount to all your clients. This will not require you to enter the fee on the client invoice.
- Click SET PRICE AS PER FORM, ITEM, AND PROPERTY if you wish to charge a different amount depending on the forms you are filling out for each return, This will allow you to charge per Schedule Form, 1040 Form, W-2 and so on.
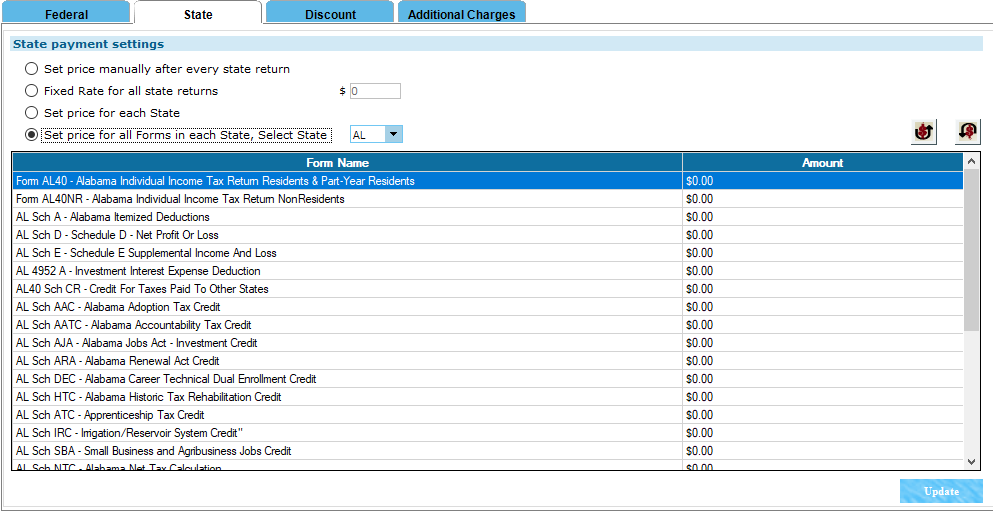
On the STATE TAB you got 4 options to choose from SET PRICE MANUALLY AFTER EVERY RETURN, FIXED RATE FOR ALL STATE RETURNS, SET PRICE FOR EACH STATE, or SET PRICE FOR ALL FORMS IN EACH STATE.
- Click on SET PRICE MANUALLY AFTER EVERY RETURN if you want to charge a different amount to each client. That fee is set on the Client Invoice.
- Click on FIXED RATE FOR ALL RETURNS if you want to charge the exact same amount to all your clients. This will not require you to enter the fee on the client invoice.
- Click SET PRICE FOR EACH STATE to set a different price fee for each individual state.
- Click SET PRICE FOR ALL FORMS IN EACH STATE then select the state from the drop box to set different price fee for each form of each individual state.
On the DISCOUNT TAB you will be able to add discounts of your choosing to both FEDERAL and STATE.
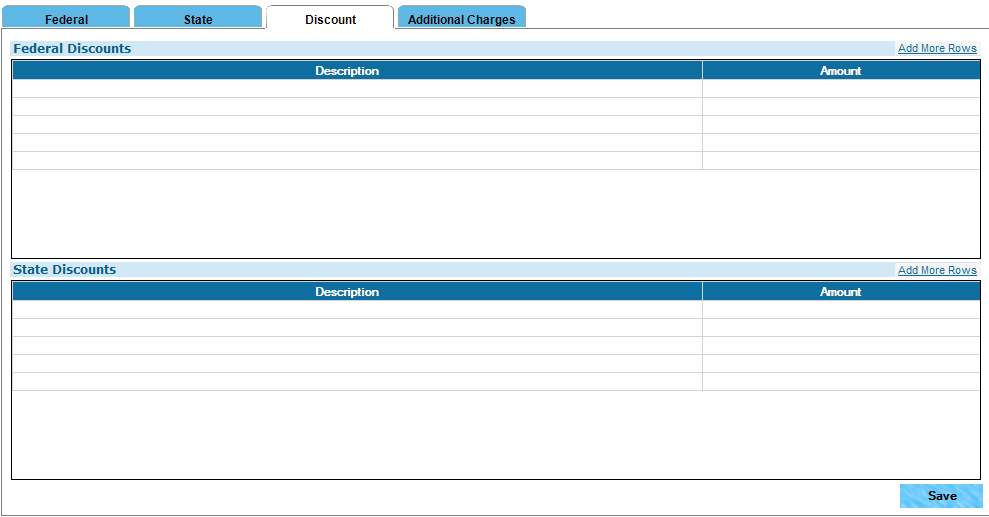
- Click inside the box under DESCRIPTION on either FEDERAL DISCOUNT or STATE DISCOUNT and enter the name of the Discount you wish to add.
- Now click on the box under AMOUNT and enter the amount of the discount that will be associated to the discount name.
- If you need to add more than 5 discounts, then to the right of the FEDERAL DISCOUNT and STATE DISCOUNT you can click where it says ADD MORE ROWS.
- Once you added all the discounts you want, click on the blue SAVE button at the bottom of your screen.
On the ADDITIONAL CHARGES TAB, you will be able to add additional charges to both FEDERAL and STATE, such as the preparation fees i.e. copies, fax, prior year preparations, etc.
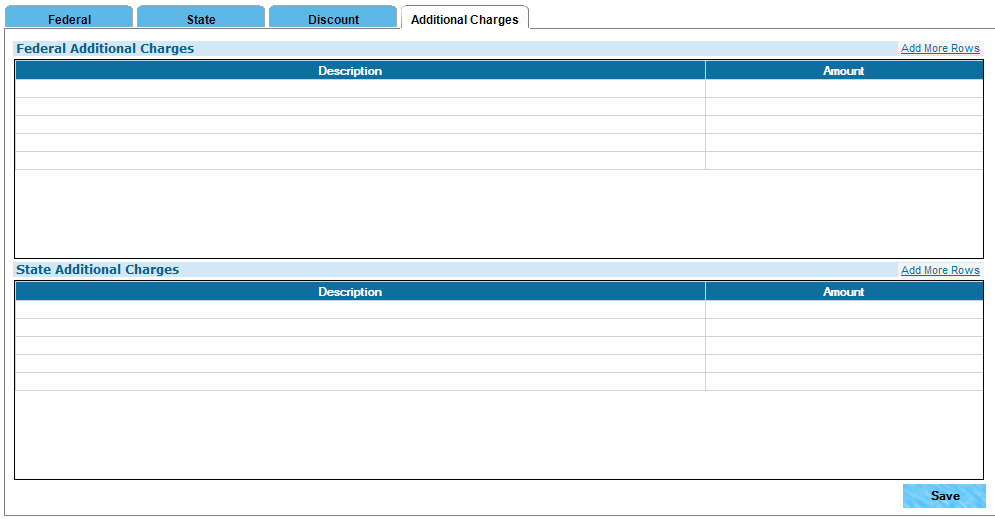
- Click inside the box under DESCRIPTION on either FEDERAL ADDITIONAL CHARGES or STATE ADDITIONAL CHARGES and enter the name of the Additional Charge you wish to add.
- Now click on the box under AMOUNT and enter the amount of the Additional Charge that will be associated to the Additional Charge name.
- If you need to add more than 5 Additional Charges, then to the right of the FEDERAL ADDITIONAL CHARGES and STATE ADDITIONAL CHARGES you can click where it says ADD MORE ROWS.
- Once you added all the Additional Charges you want, click on the blue SAVE button at the bottom of your screen