
How Can We Help?
Error – Your message could not be sent! Check your TextLink Settings or Internet Settings” when you try to send a Text Message
“Error – Your message could not be sent! Check your TextLink Settings or Internet Settings” when you try to send a Text Message
SYMPTOMS
When you try to send a TextLink text message, the following error message appears:
‘Error – Your Message could not be Sent! Check your TextLink Settings or Internet Settings”
CAUSE
This error can occur if any of the following statements are true:
- Textlink has not been activated.
- The user name or password for Gmail is not correct.
- Allow Less Secured Apps is set to NO in your Google Account
- Your Google Account needs to be unlocked.
- You are trying to send a message to more than 100 recipients at the same time.
RESOLUTION
Method 1: Activate Textlink
Important: Textlink must be activated on each computer wanting to send a text message.
To activate Textlink, follow these steps:
- Right-Click the SimpleTAX 1040 shortcut on your desktop and click Run As Administrator.
- Click Yes to allow the program to make changes
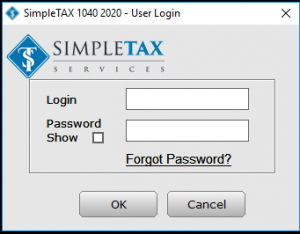
- Log in to SimpleTAX 1040
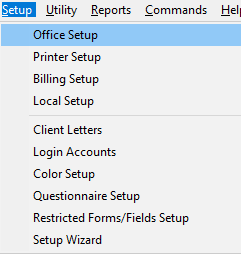
- Go to the Setup menu, click Office Setup.
- Click the TextMsg/Email tab.
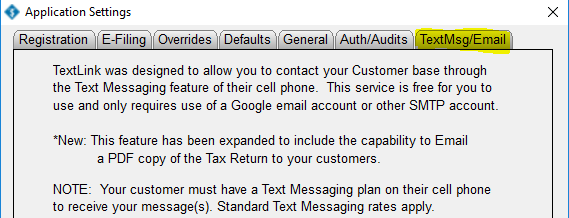
- In the Email box, type your Gmail e-mail address.
- In the Password box, type your Gmail password.

- Click the Activate Textlink/Email button

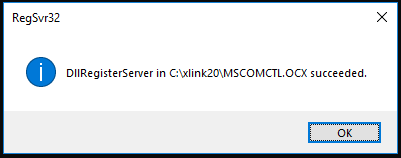
- A window will pop up, it will say “DllRegisterServer succeeded.” Click OK
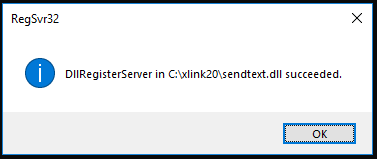
- The window will pop up again saying “DllRegisterServer succeeded.” Click OK
- Click OK on TextMsg/Email Window to finish then try to send a Text Message.
![]()
Method 2: Verify your Gmail user name and password
- Log in to SimpleTAX 1040
- Go to the Setup menu, click Office Setup.
- Click the TextMsg/Email tab.
- In the Email box, type your Gmail e-mail address.
- In the Password box, type your Gmail password.
- Click OK and then try to send a Text Message.
![]()
Method 3: Allow Less Secured Apps in Google

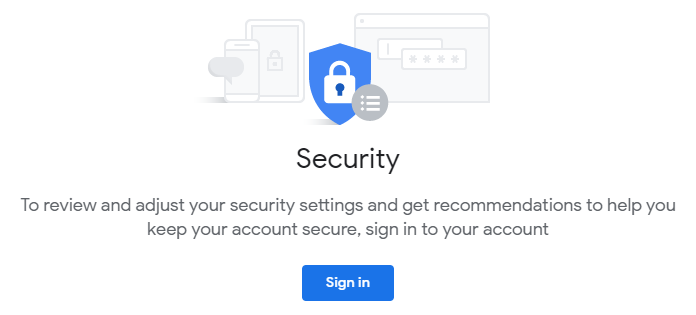
- Log in with the same gmail email and password you used in the Textlink Setup (if required.)
- On the Less Secure App Access, click Turn ON Access (not recommended)
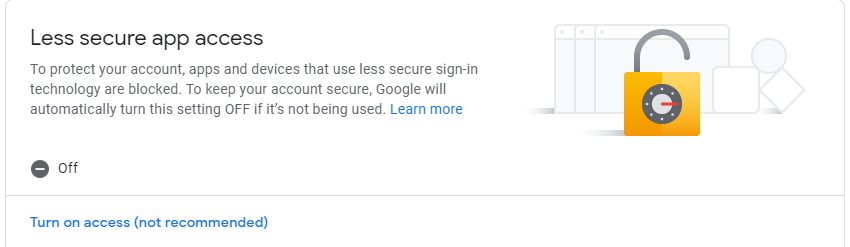
- Click the slider button to turn it blue. It should now read Allow Less Secured Apps: ON

- Now try to send a Text Message.
Method 4: Unlock Your Google Account

- Log in with the same gmail email and password you used in the Textlink Setup (if required.)
- You will see the following message: Allow access to your Google account. As a security precaution, Google may require you to complete this additional step when signing into a new device or application. To allow access, click the Continue button below.
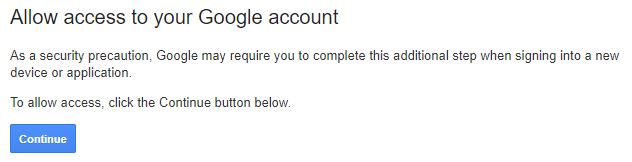
- Click Continue
- You will now see the following message: Account access enabled. Please try signing in to your Google account again from your new device or application.
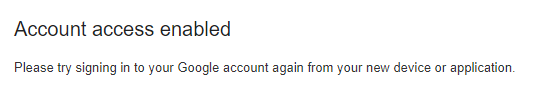
- Now try to send a Text Message.
Method 5: Send the message to less than 100 recipients at a time
Google text limits the amount of text messages you can send to 100 recipients at a time. If you are sending a batch text message (the same text message to a large group), try to limit the size of the group to less than 100.