
How Can We Help?
How to print reports in KIS Online
The objective of this article is to walk you through on how to print reports.
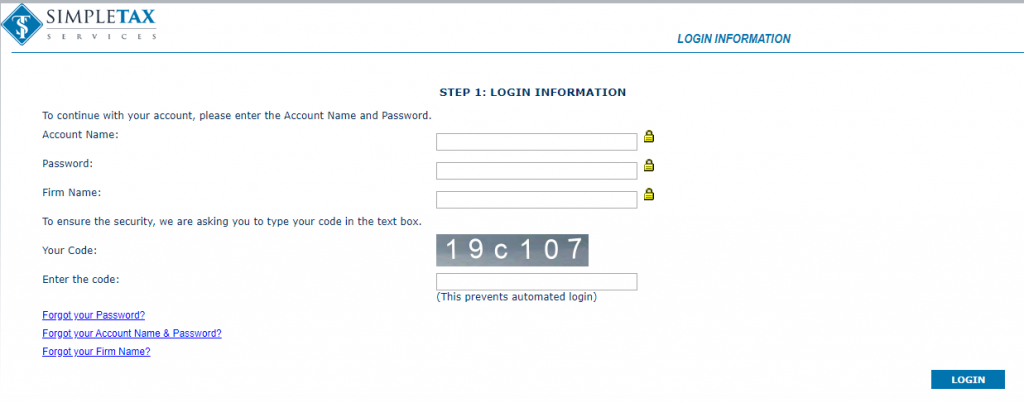
- Open the Keep It Simple Online software and log in.
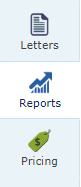
- From your main screen click on the 6th icon from the top to bottom on the left-hand side labeled REPORTS.
- You will see 3 icon across the top of the screen STANDARD REPORT, OFFICE REVENUE REPORT, and CUSTOM REPORT.

STANDARD REPORT (Client Returns)
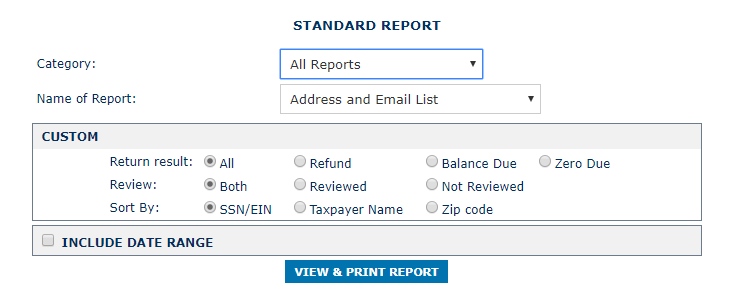
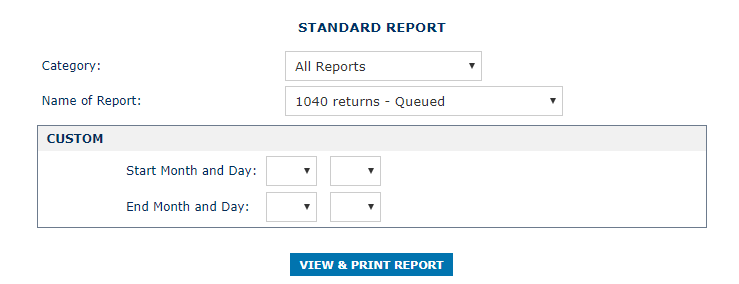
- You can select what type of Standard Report you want to run by selecting the report from the Category drop box.
- You can Name the report by choosing a specific Name from the Name of Report drop down box.
- You can narrow the report by selecting the type of Return Result from either Refund, Balance Due or Zero Due, and the Review type Both, Reviewed or Not Reviewed.
- You can sort your reports by SSN/EIN, Taxpayer Name or, Zip Code.
- You can select the time frame under REPORT DATE RANGE from Select Date Option or manually selecting Start Month and Day and Year and End Month and Day and Year.
- Now you can click on the VIEW & PRINT REPORT blue button and create your report.
- If you wish to export the report to Excel Format, then click on the Excel icon located at the top right corner.
STANDARD REPORT (Efile)
- You can select what type of Standard Report you want to run by selecting the report from the Category drop box.
- You can Name the report by choosing a specific Name from the Name of Report drop down box.
- You can narrow the report by selecting the type of Return Result from either Refund, Balance Due or Zero Due, and the Review type Both, Reviewed or Not Reviewed.
- You can sort your reports by SSN/EIN, Taxpayer Name or, Zip Code.
- You can select the time frame under REPORT DATE RANGE from Select Date Option or manually selecting Start Month and Day and Year and End Month and Day and Year.
- Now you can click on the VIEW & PRINT REPORT blue button and create your report.
- If you wish to export the report to Excel Format, then click on the Excel icon located at the top right corner.
OFFICE REVENUE REPORT
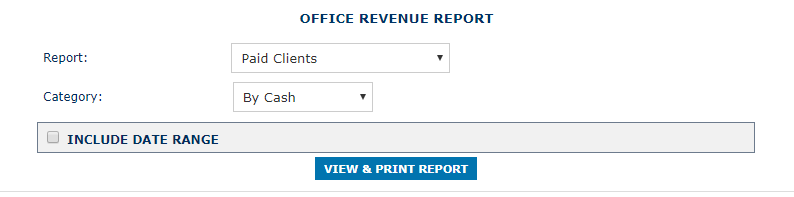
- You can select what type of Office Revenue Report you want to run by selecting the report from the Report drop box.
- You can select the category of the report on particular information by choosing a specific topic from the Category drop down box.
- You can select the time frame under REPORT DATE RANGE from Select Date Option or manually selecting Start Month and Day and Year and End Month and Day and Year.
- Now you can click on the VIEW & PRINT REPORT blue button and create your report.
- If you wish to export the report to Excel Format, then click on the Excel icon located at the top right corner.
CUSTOM REPORT
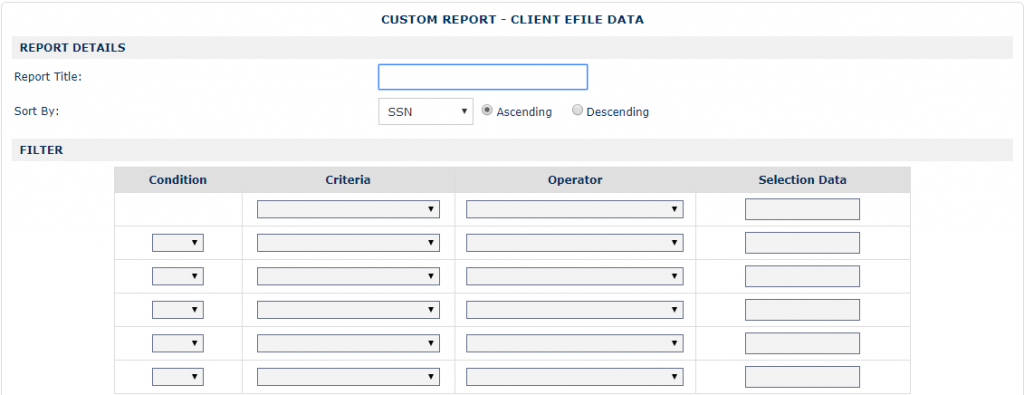

- Name the type of report in the REPORT TITLE box.
- Then select the sort criteria from the SORT BY drop box and select Ascending or Descending.
- Select the Filters from the drop boxes CONDITION, CRITERIA and OPERATOR and enter the Selection Data.
- Under SELECT REPORT COLUMNS select the columns you want to add from the Available Columns and click Add.
- Once you have selected each option you can click VIEW & PRINT REPORT or SAVE REPORT.
- If you wish to export the report to Excel Format, then click on the Excel icon located at the top right corner.