
How Can We Help?
How to use the Backup Returns feature in SimpleTAX 1040
How to use the Backup Returns feature in SimpleTAX 1040
SUMMARY
This article demonstrates how to use the Backup Returns feature in SimpleTAX 1040.
MORE INFORMATION
As anyone who has lost their data can recount, backing up return data is essential during the tax season. We recommend you make backing up your data a daily routine during tax season.
To back up your returns using the Backup Returns feature, follow these steps:
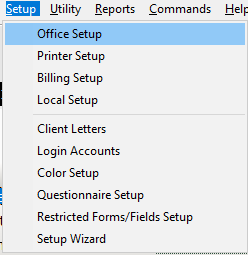
- Click the Setup menu and then click Office Setup. The SimpleTAX 1040 Settings window will display.
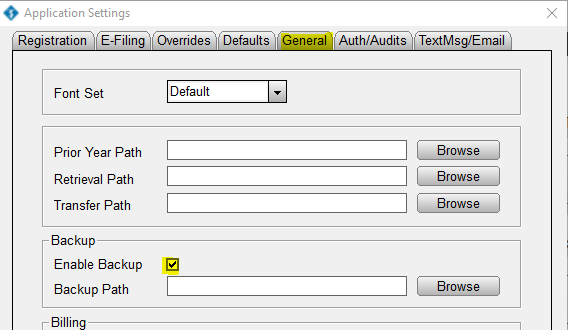
- Click the General tab and then select the Enable Backup option that appears in the Backup section.
- Click the Browse button that appears in the Backup Path to choose a path for your backed up data. If you do not specify a Backup Path and click OK,
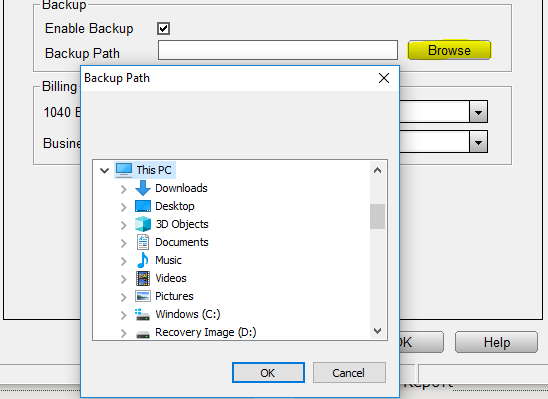
NOTE: SimpleTAX 1040 will place the backup file in the XLINK folder. We recommend storing backup files off-site, for example, on a USB drive that you take home daily.
- Click OK to return to the Work in Progress screen.
- Once on the Work in Progress screen, click the Backup Returns option.

Note: If you do not see a Backup Returns option in the Work in Progress screen, press F2 on your keyboard to refresh the screen.
- In the Backup Returns window, select the returns you want to backup, or click the Select All button to backup all your returns.
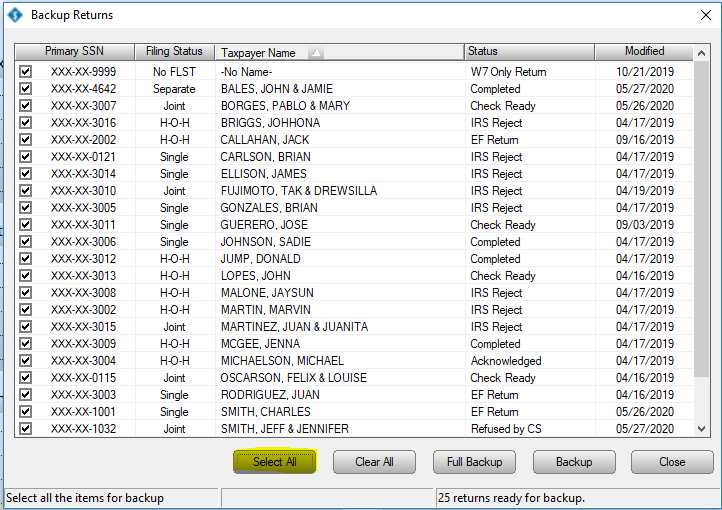
- If you click the Full Backup button, the program will also allow you to back up additional information, such as PDF Documents, Database Records, Check Records, Billing Schedules, Client Letters, and Save queue.

- Once you have selected all the information you want to backup, click the Backup button to begin the backup progress.
