How to complete the Registration tab
SUMMARY
This article demonstrates how to complete the Registration tab of office setup.
MORE INFORMATION
26 STEPS
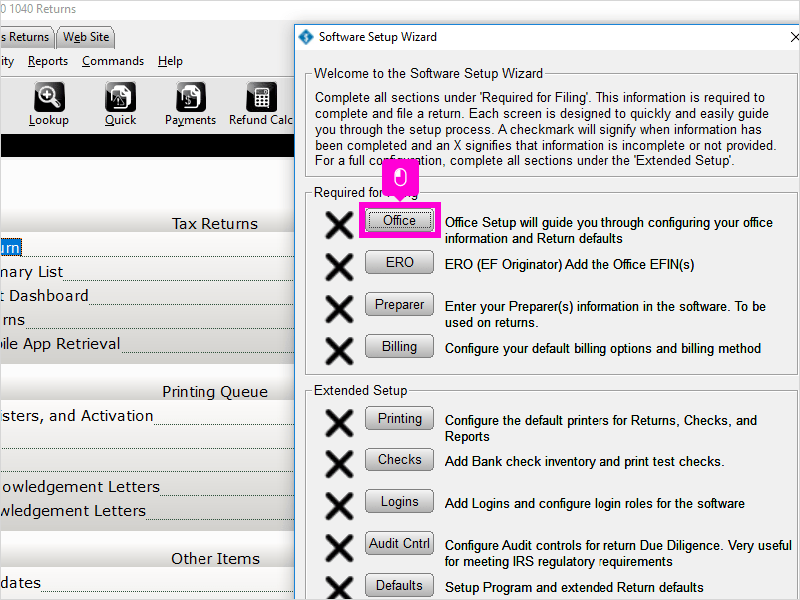
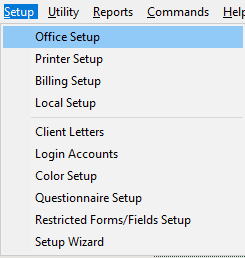
1. Once you login to the software, the Software Setup Wizard will appear. Click Office
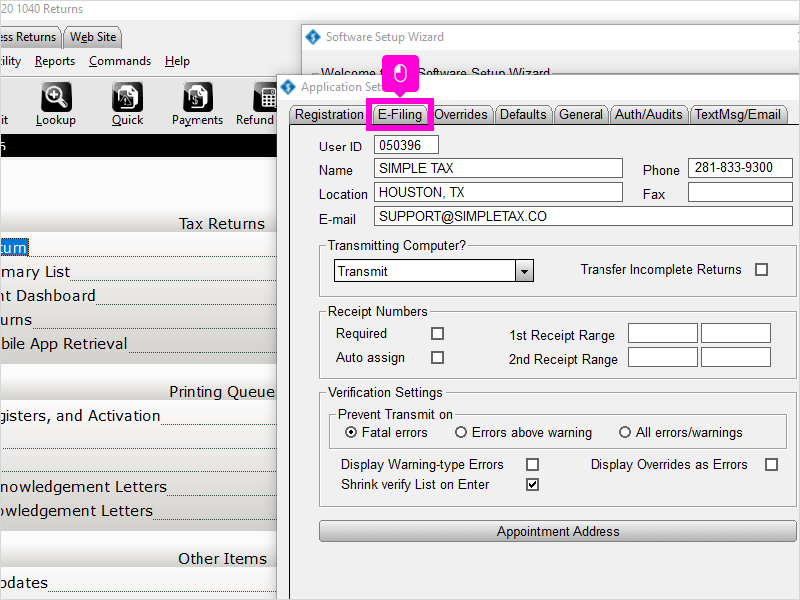
![Step 1 image](https://www.iorad.com/api/tutorial/stepScreenshot?tutorial_id=1691107&step_number=1&width=800&height=600&mobile_width=450&mobile_height=400&apply_resize=true&min_zoom=0.5)
2. Click E-Filing
![Step 2 image](https://www.iorad.com/api/tutorial/stepScreenshot?tutorial_id=1691107&step_number=2&width=800&height=600&mobile_width=450&mobile_height=400&apply_resize=true&min_zoom=0.5)
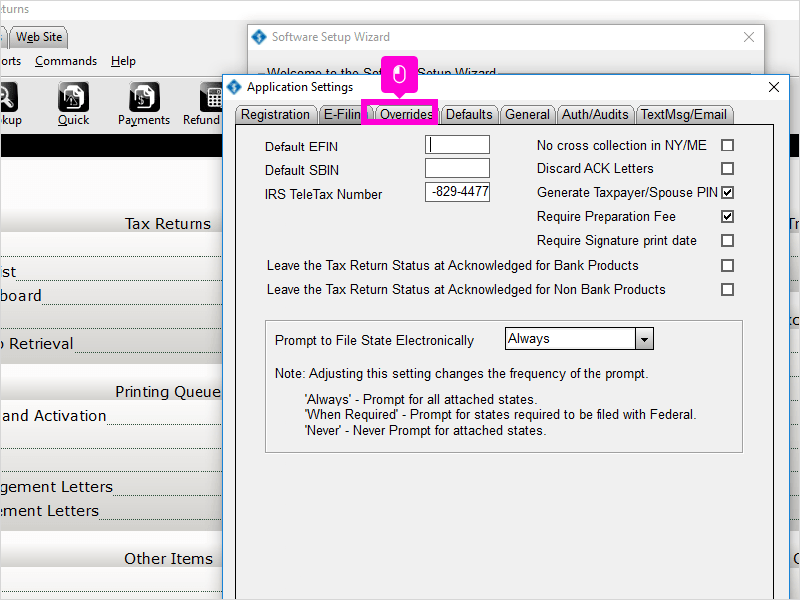
3. Enter yore EFIN in the Default EFIN
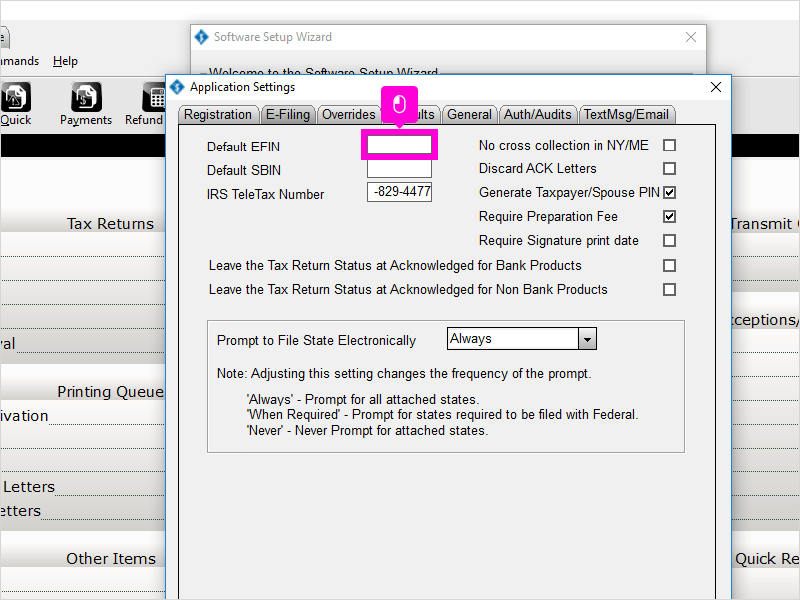
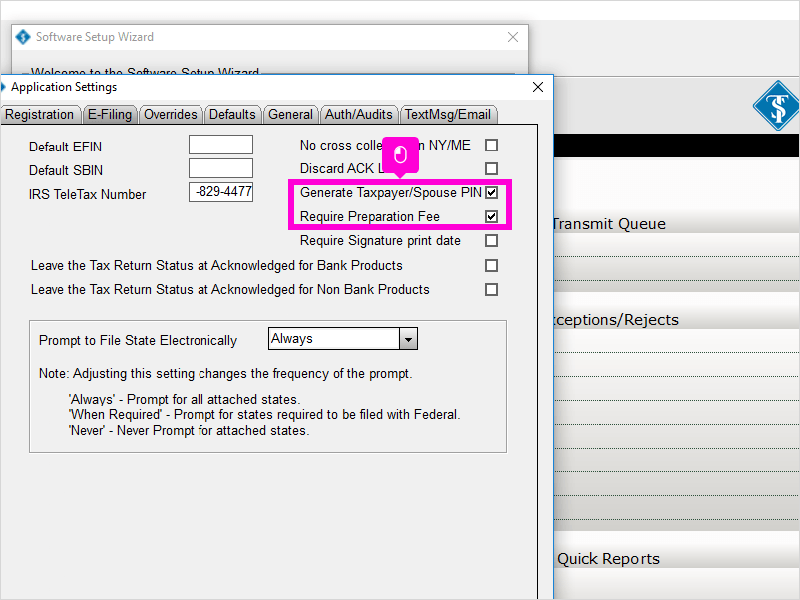
![Step 3 image](https://www.iorad.com/api/tutorial/stepScreenshot?tutorial_id=1691107&step_number=3&width=800&height=600&mobile_width=450&mobile_height=400&apply_resize=true&min_zoom=0.5)
4. Click Overrides
![Step 4 image](https://www.iorad.com/api/tutorial/stepScreenshot?tutorial_id=1691107&step_number=4&width=800&height=600&mobile_width=450&mobile_height=400&apply_resize=true&min_zoom=0.5)
5. Enter your Company Name
![Step 5 image](https://www.iorad.com/api/tutorial/stepScreenshot?tutorial_id=1691107&step_number=5&width=800&height=600&mobile_width=450&mobile_height=400&apply_resize=true&min_zoom=0.5)
6. Type in your Company Address
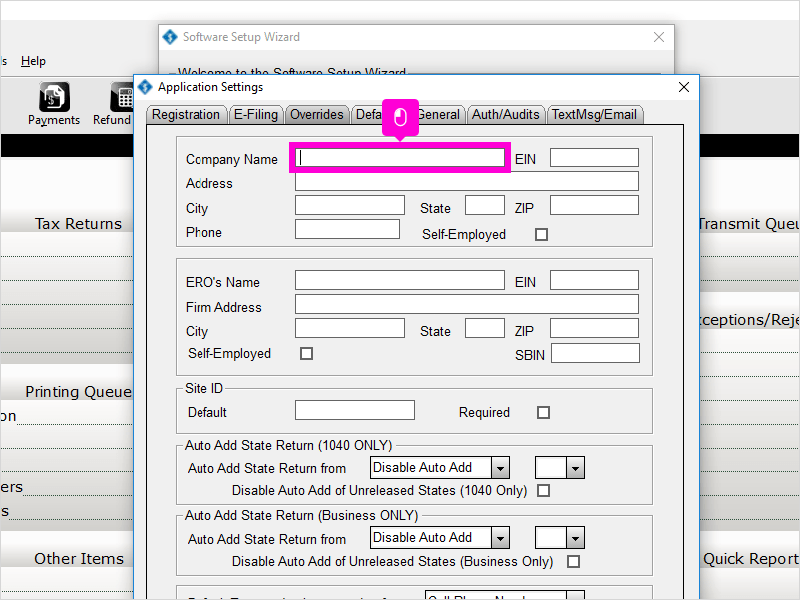
![Step 6 image](https://www.iorad.com/api/tutorial/stepScreenshot?tutorial_id=1691107&step_number=6&width=800&height=600&mobile_width=450&mobile_height=400&apply_resize=true&min_zoom=0.5)
7. Type in the City
![Step 7 image](https://www.iorad.com/api/tutorial/stepScreenshot?tutorial_id=1691107&step_number=7&width=800&height=600&mobile_width=450&mobile_height=400&apply_resize=true&min_zoom=0.5)
8. Type in the State
![Step 8 image](https://www.iorad.com/api/tutorial/stepScreenshot?tutorial_id=1691107&step_number=8&width=800&height=600&mobile_width=450&mobile_height=400&apply_resize=true&min_zoom=0.5)
9. Type in rthe Zip Code
![Step 9 image](https://www.iorad.com/api/tutorial/stepScreenshot?tutorial_id=1691107&step_number=9&width=800&height=600&mobile_width=450&mobile_height=400&apply_resize=true&min_zoom=0.5)
10. Type in Company Phone Number
![Step 10 image](https://www.iorad.com/api/tutorial/stepScreenshot?tutorial_id=1691107&step_number=10&width=800&height=600&mobile_width=450&mobile_height=400&apply_resize=true&min_zoom=0.5)
11. Enter the ERO’s Name
![Step 11 image](https://www.iorad.com/api/tutorial/stepScreenshot?tutorial_id=1691107&step_number=11&width=800&height=600&mobile_width=450&mobile_height=400&apply_resize=true&min_zoom=0.5)
12. Enter the Firm Address
![Step 12 image](https://www.iorad.com/api/tutorial/stepScreenshot?tutorial_id=1691107&step_number=12&width=800&height=600&mobile_width=450&mobile_height=400&apply_resize=true&min_zoom=0.5)
13. Enter the City
![Step 13 image](https://www.iorad.com/api/tutorial/stepScreenshot?tutorial_id=1691107&step_number=13&width=800&height=600&mobile_width=450&mobile_height=400&apply_resize=true&min_zoom=0.5)
14. Enter the State
![Step 14 image](https://www.iorad.com/api/tutorial/stepScreenshot?tutorial_id=1691107&step_number=14&width=800&height=600&mobile_width=450&mobile_height=400&apply_resize=true&min_zoom=0.5)
15. Enter the Zip Code
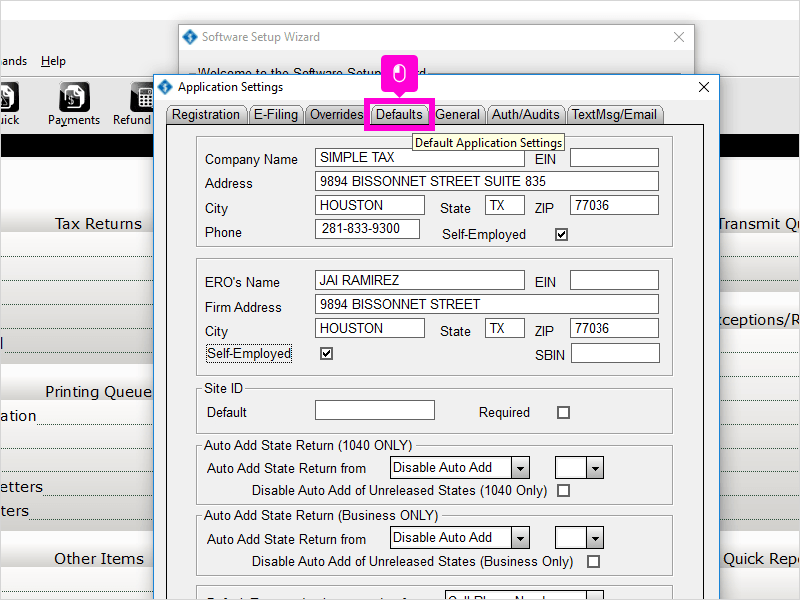
![Step 15 image](https://www.iorad.com/api/tutorial/stepScreenshot?tutorial_id=1691107&step_number=15&width=800&height=600&mobile_width=450&mobile_height=400&apply_resize=true&min_zoom=0.5)
16. Click Defaults
![Step 16 image](https://www.iorad.com/api/tutorial/stepScreenshot?tutorial_id=1691107&step_number=16&width=800&height=600&mobile_width=450&mobile_height=400&apply_resize=true&min_zoom=0.5)
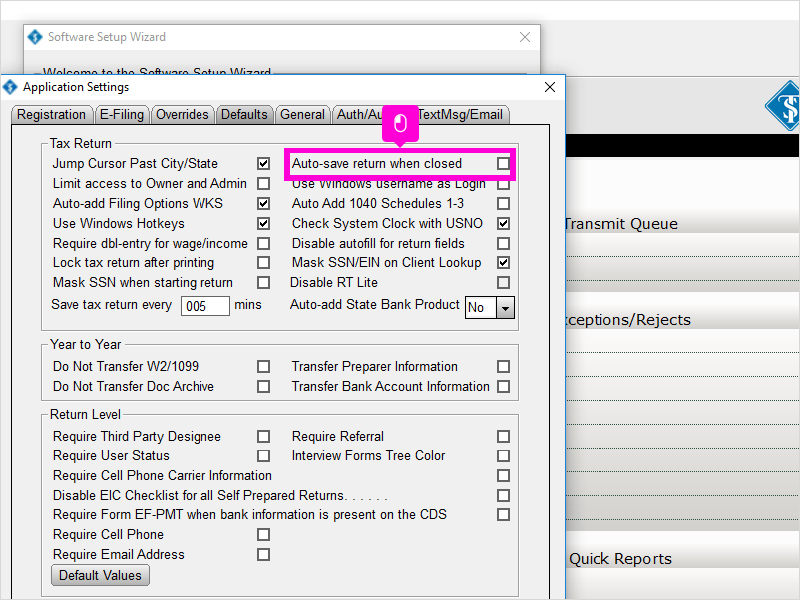
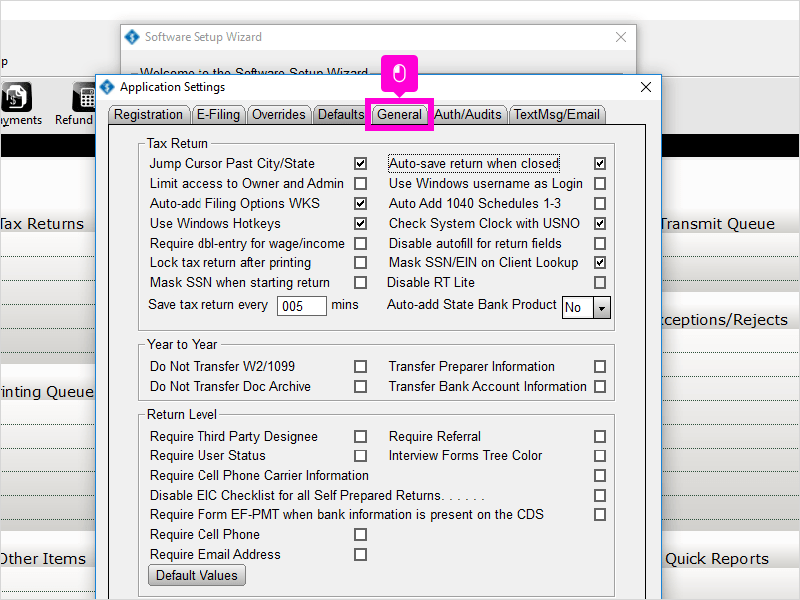
17. Click check box Auto-save return when closed. This will automatically save the return whenever you close the return or software.
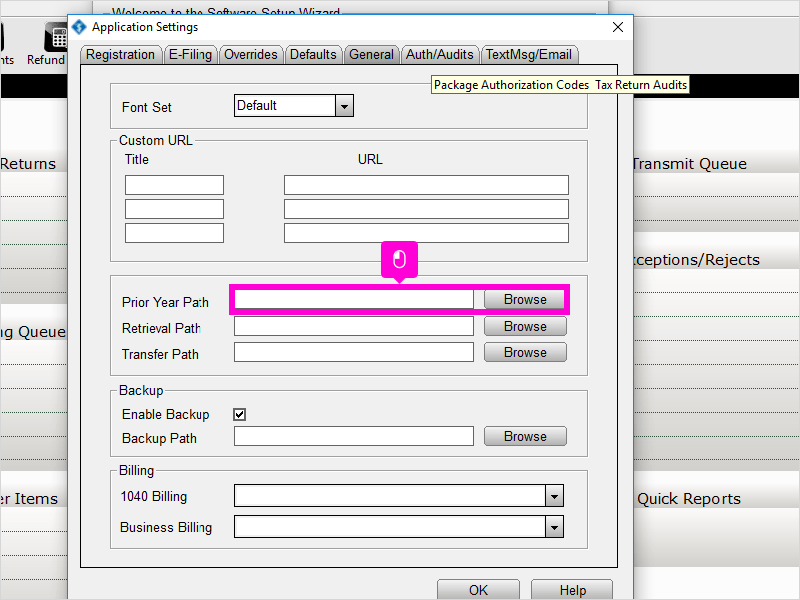
![Step 17 image](https://www.iorad.com/api/tutorial/stepScreenshot?tutorial_id=1691107&step_number=17&width=800&height=600&mobile_width=450&mobile_height=400&apply_resize=true&min_zoom=0.5)
18. Click General
![Step 18 image](https://www.iorad.com/api/tutorial/stepScreenshot?tutorial_id=1691107&step_number=18&width=800&height=600&mobile_width=450&mobile_height=400&apply_resize=true&min_zoom=0.5)
19. If you had the same software the previous year, enter the Prior Year Path or click Browse to select if from your PC.
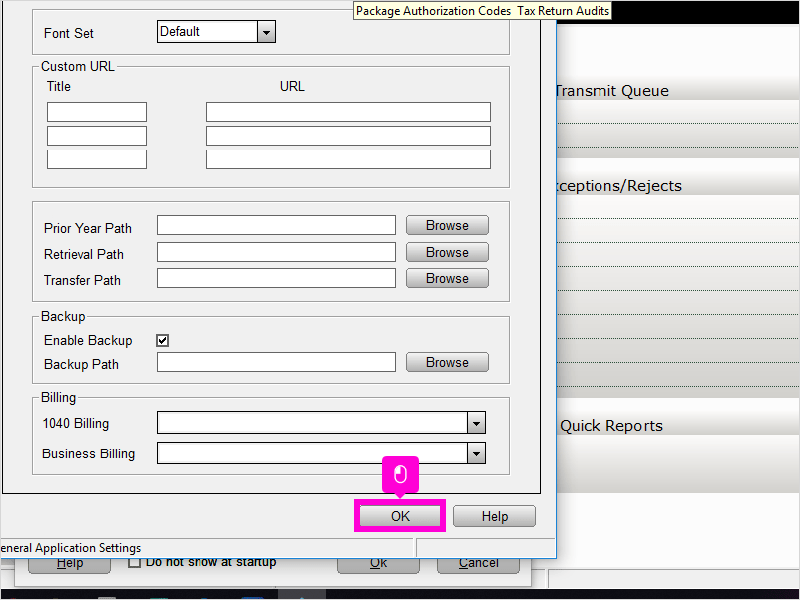
![Step 19 image](https://www.iorad.com/api/tutorial/stepScreenshot?tutorial_id=1691107&step_number=19&width=800&height=600&mobile_width=450&mobile_height=400&apply_resize=true&min_zoom=0.5)
20. Click OK
![Step 20 image](https://www.iorad.com/api/tutorial/stepScreenshot?tutorial_id=1691107&step_number=20&width=800&height=600&mobile_width=450&mobile_height=400&apply_resize=true&min_zoom=0.5)
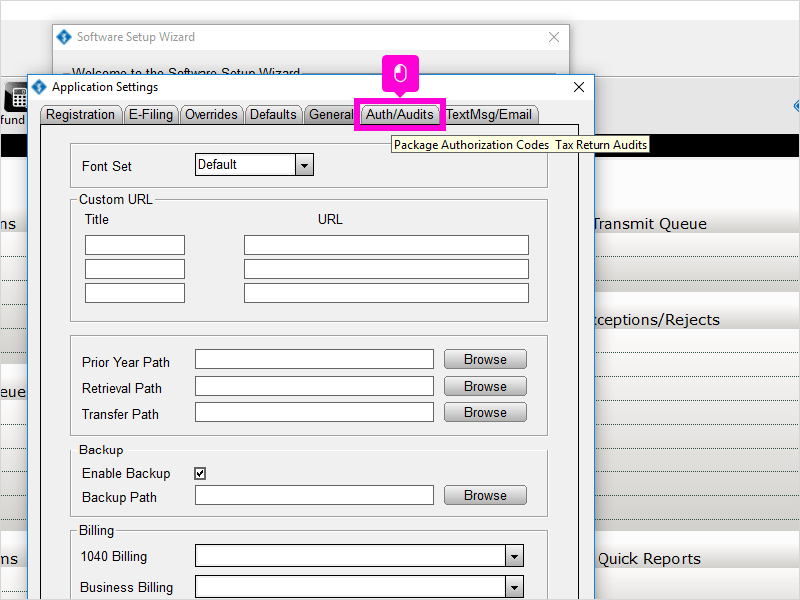
21. Click Auth/Audits
![Step 21 image](https://www.iorad.com/api/tutorial/stepScreenshot?tutorial_id=1691107&step_number=21&width=800&height=600&mobile_width=450&mobile_height=400&apply_resize=true&min_zoom=0.5)
22. Here you can use each button to configure Diagnostic validation checks if you like to know how check out our Software Setup Wizard for Audit Control video. Click OK to continue.
![Step 22 image](https://www.iorad.com/api/tutorial/stepScreenshot?tutorial_id=1691107&step_number=22&width=800&height=600&mobile_width=450&mobile_height=400&apply_resize=true&min_zoom=0.5)
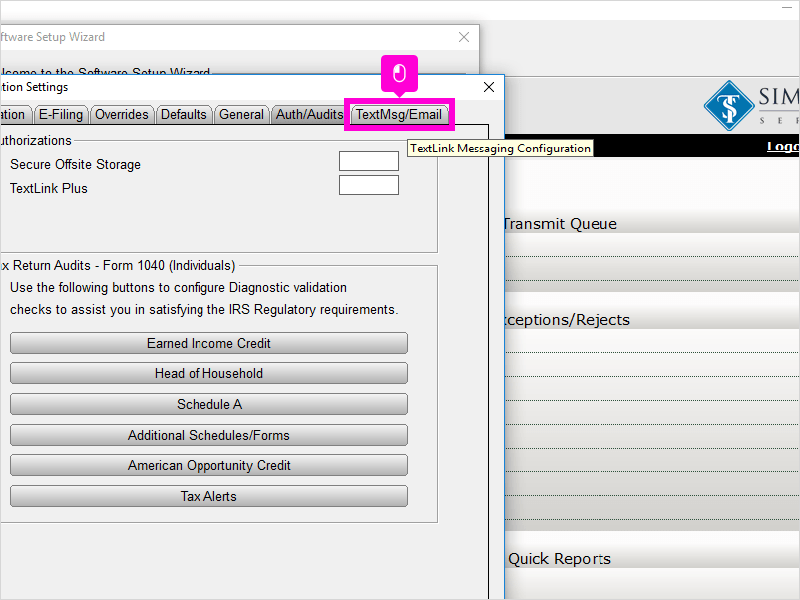
23. Click TextMsg/Email
![Step 23 image](https://www.iorad.com/api/tutorial/stepScreenshot?tutorial_id=1691107&step_number=23&width=800&height=600&mobile_width=450&mobile_height=400&apply_resize=true&min_zoom=0.5)
24. Enter your Gmail Email Address
![Step 24 image](https://www.iorad.com/api/tutorial/stepScreenshot?tutorial_id=1691107&step_number=24&width=800&height=600&mobile_width=450&mobile_height=400&apply_resize=true&min_zoom=0.5)
25. Enter the Password to the Gmail Email Address above.
![Step 25 image](https://www.iorad.com/api/tutorial/stepScreenshot?tutorial_id=1691107&step_number=25&width=800&height=600&mobile_width=450&mobile_height=400&apply_resize=true&min_zoom=0.5)
26. Click OK
![Step 26 image](https://www.iorad.com/api/tutorial/stepScreenshot?tutorial_id=1691107&step_number=26&width=800&height=600&mobile_width=450&mobile_height=400&apply_resize=true&min_zoom=0.5)
Here’s an interactive tutorial
https://www.iorad.com/player/1691107/Software-Setup-Wizard-for-Office-Setup
To complete the Registration tab, follow these steps:
- On the Setup menu, click Office Setup.
![](https://simpletaxsupport.com/wp-content/uploads/2020/04/9.1.png)
- Complete the information as follows:
![](https://simpletaxsupport.com/wp-content/uploads/2020/04/9.2-300x158.png)
- User ID
Do not edit this field. This field will be populated with the userid used during the First Time Setup Wizard.
- Name
Type the company name of the office.
- Phone
Type the phone number of the office.
- Location
Type the address of the office.
- Fax
Type the fax number of the office, if applicable.
- E-mail
Type the e-mail address of the office, if applicable.