
How Can We Help?
How to Setup and Print a TEST CHECK in KIS Desktop
The objective of this article is to walk you through the process of The Check Setup Process.
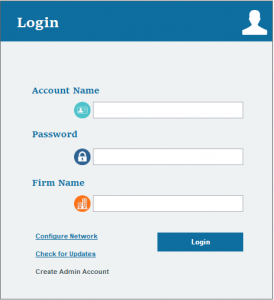
- Click on the KIS Desktop icon and login to the software.
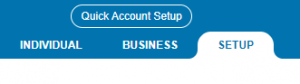
- Click on the SETUP Tab on the top right corner.
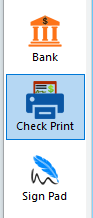
- Click on the 5th icon on the left-hand side labeled CHECK PRINT.
- Click on the SETUP Tab on the CHECK PRINT window.

- Enter a CONFIGURATION NAME and check the box to use the configuration as default.

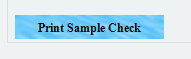
- At the bottom of your screen on the left-hand side, click PRINT SAMPLE CHECK to print a Test Check so you can figure out the correct way to place your checks in your printer to print them for your customers. We DO NOT recommend using an actual check for this, make a copy of a check and use that copy instead.
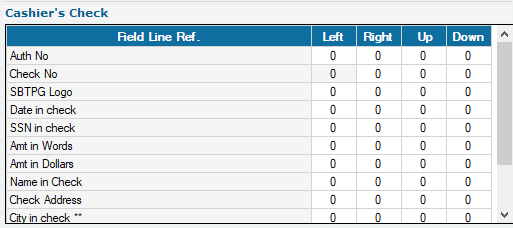
- If the bottom portion of the check needs to be adjusted to correct alignment issues, use the CASHIERS CHECK adjustment box to adjust your print settings.
- Print a test check again and if the check prints correctly, click on ADD NEW CONFIGURATION to save the changes made.
![]()